Email attachments often need to be saved to SharePoint document library. Power Automate can take any incoming/outgoing message and save their email attachments to SharePoint. It can even tag the attachments or place them in a folder for easier lookup in the future.
Table of Contents
• Introduction: The Legal Department Email Attachments Automation
• Setup The SharePoint Document Library
• Configure The "When A New Email Arrives" Trigger Settings
• Save Each Email Attachment To The SharePoint Document Library
• Run The Power Automate Flow To Save Email Attachments
• Group Email Attachments By The Sender In SharePoint
Introduction: The Legal Department Email Attachments Automation
Lawyers working in the legal department of a healthcare company receive email messages from outside consul. When a new email is received in the shared mailbox it attachments are automatically saved to a SharePoint document library using Power Automate.

The email attachments are tagged with the original email’s subject, from email and received date.
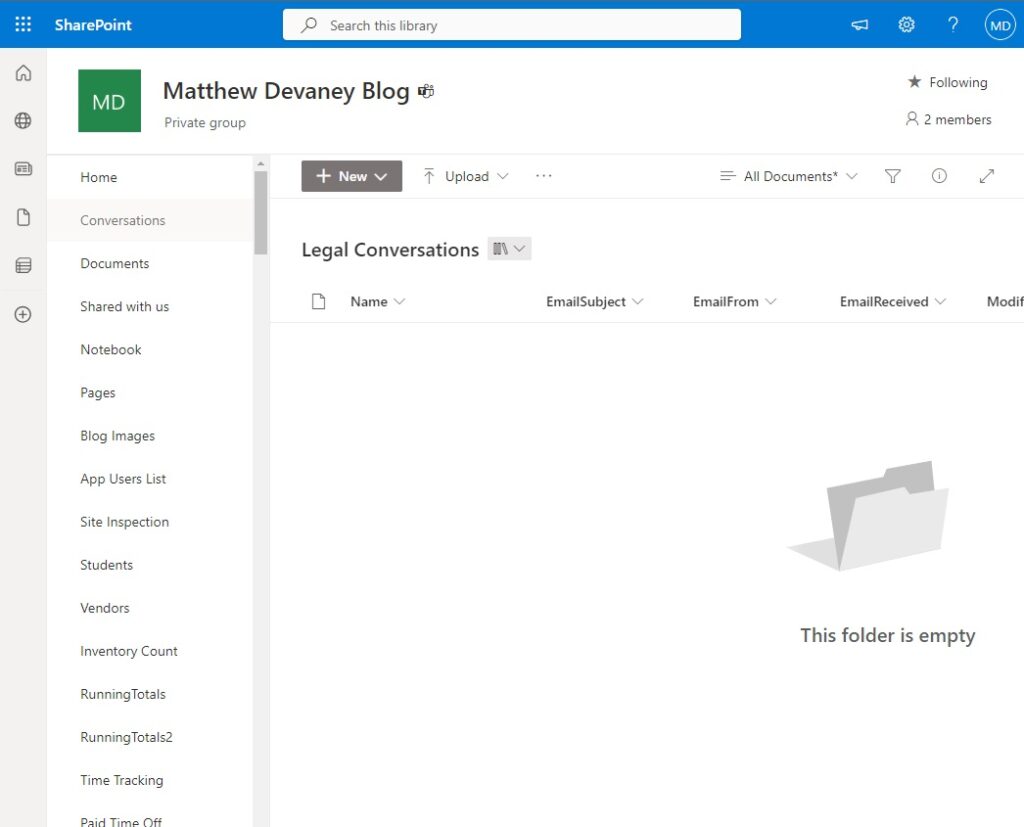
Setup The SharePoint Document Library
Create a new SharePoint Document Library named Legal Conversations with the following columns:
- Name
- EmailSubject (single-line text)
- EmailFrom (single-line text)
- EmailReceived (single-line text)
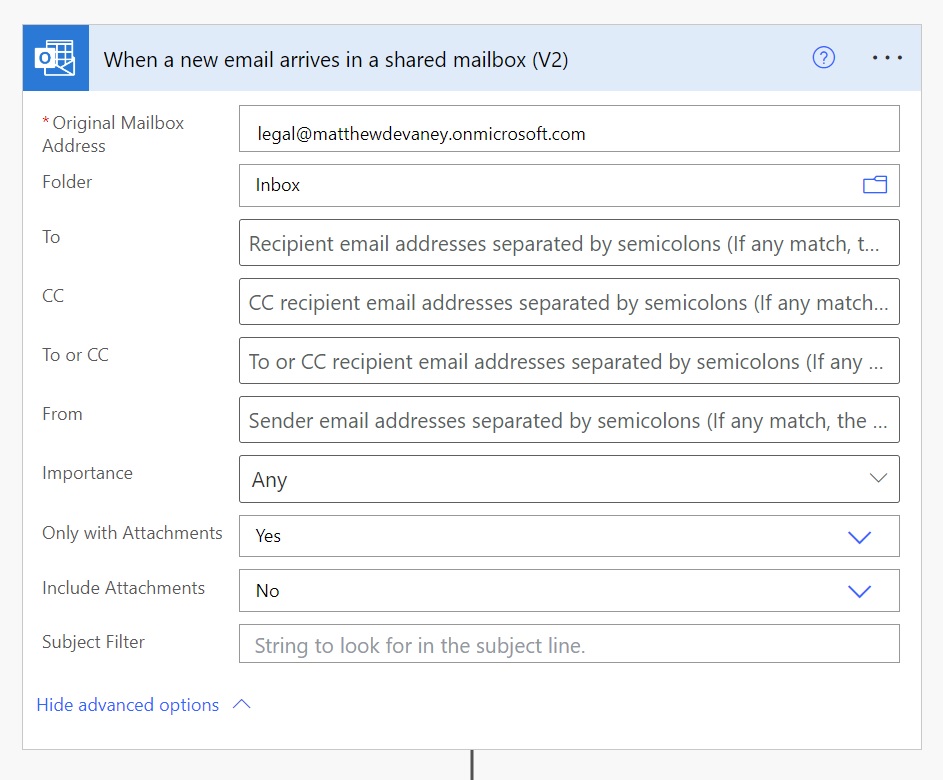
Configure The “When A New Email Arrives” Trigger Settings
Open Power Automate and create a new automated flow using the Office 365 Outlook – When A New Email Arrives In A Shared Mailbox (V3) trigger. Choose the Folder named Inbox. Select “Yes” for the Only With Attachments field.
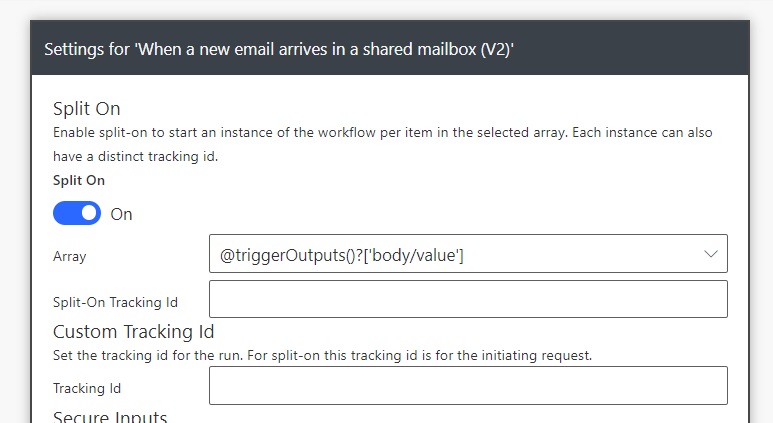
Go to the trigger’s Settings and enable Split On. This tells Power Automate to evaluate each email individually as it arrives in the inbox.
Save Each Email Attachment To The SharePoint Document Library
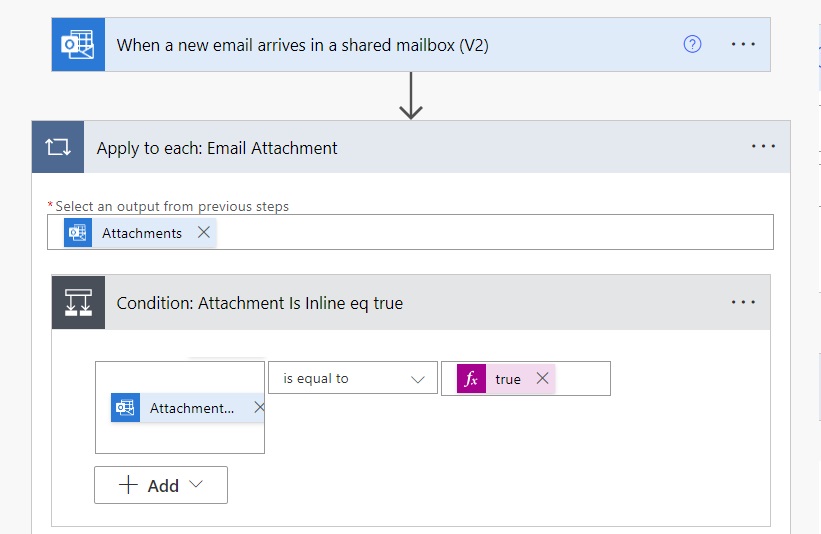
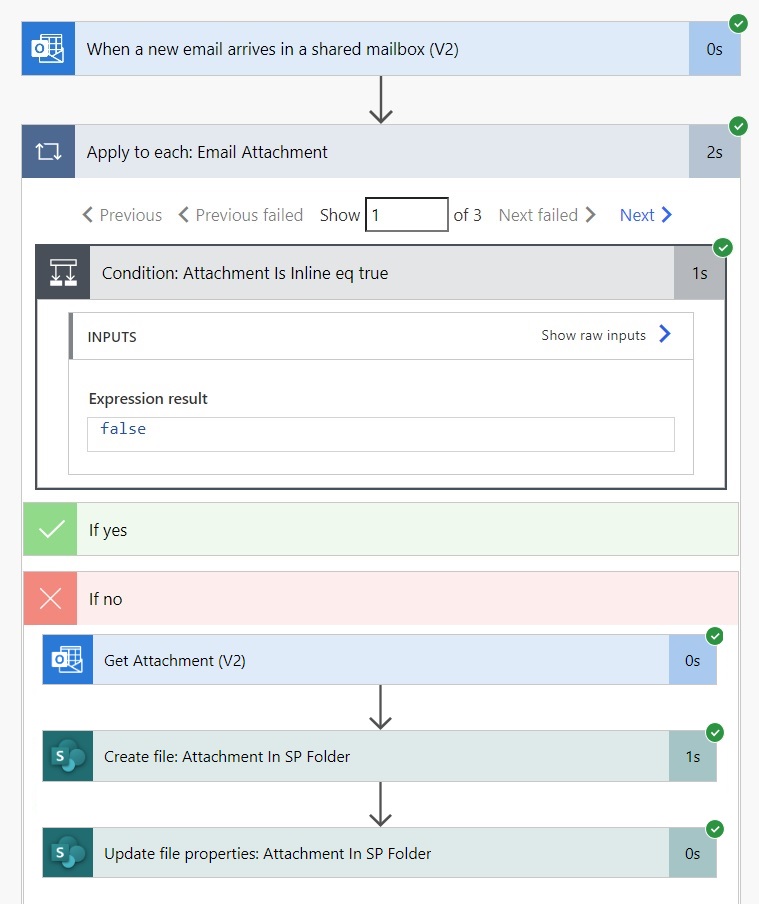
We want to save all email attachments received to the Legal Conversations SharePoint library. Add an Apply To Each action and choose the Attachments output of the trigger.
Then add a Condition inside of the Apply to Each action. Check whether Attachment Is Inline is equal to true. We do this to exclude any embedded images from the flow such as those found in a signature.
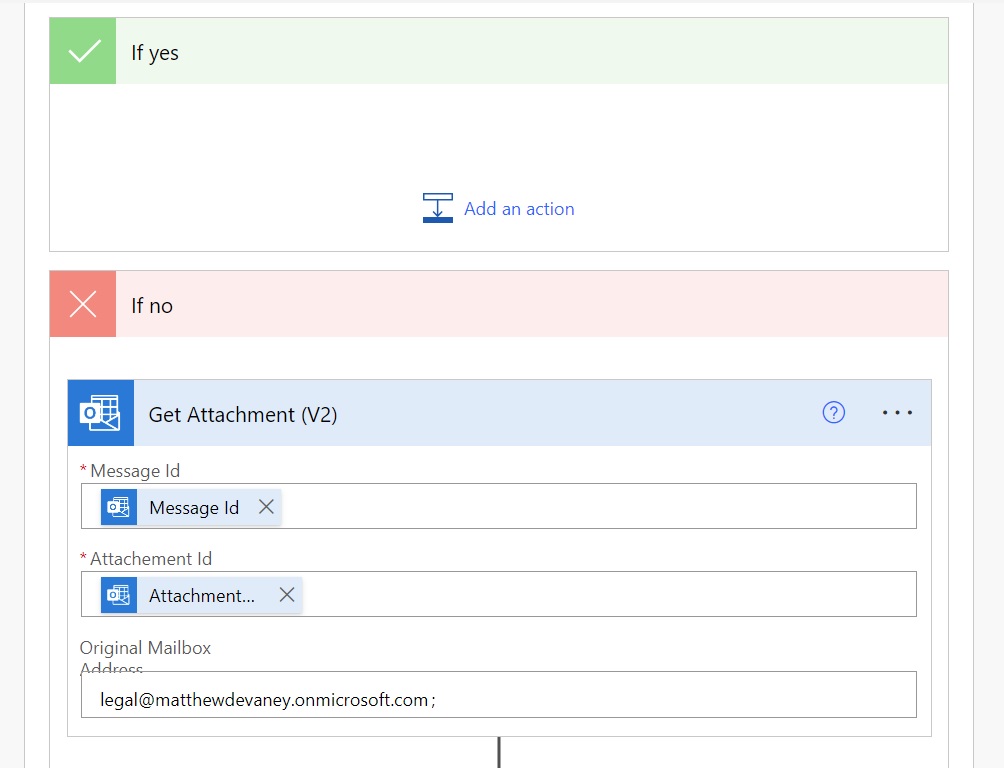
Leave the If Yes case empty. Add an Office 365 Outlook – Get Attachments action to the If No case. Set the Message ID to the message id captured in the trigger. Apply the Attachments Attachment ID dynamic value from the apply to each loop to the Attachment ID field. Use the shared email inbox address as the Original Mailbox Address.
Note: if you are using a personal mailbox instead of a shared mailbox do not fill-in any value for the Original Mailbox Address.
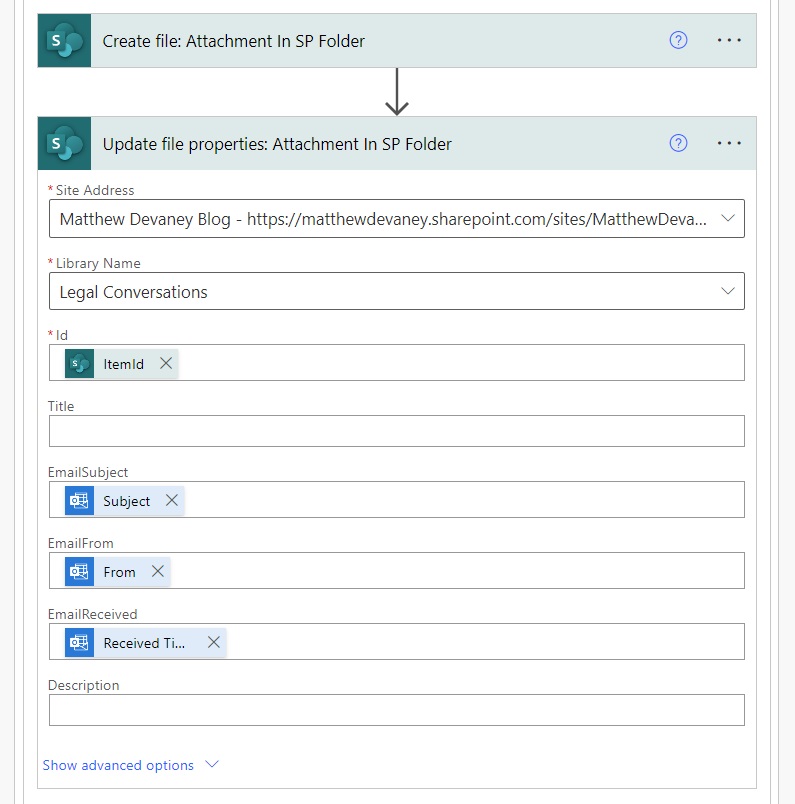
Insert a SharePoint – Create File action and set the Folder Path to the Legal Conversations SharePoint Document Library. Use the Name output by the Get Attachment action as the File Name and the Content Bytes dynamic value as the File Content.

After the file is created insert a SharePoint – Update File Properties action to tag the file with additional metadata. Use the ItemId of the the newly created file. Then supply the Subject, From and Received Timestamp from the flow’s trigger.
Run The Power Automate Flow To Save Email Attachments
We’re done. Save the flow and perform a manual test. Send an email with attachments to the target email address.
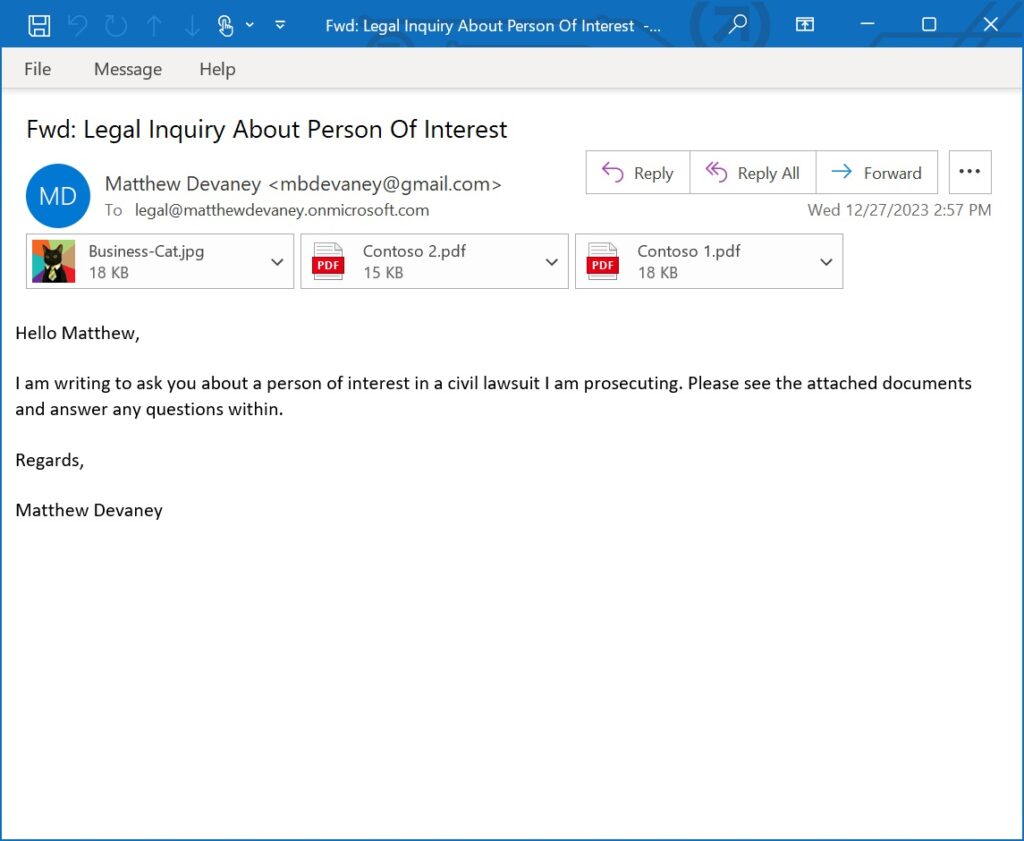
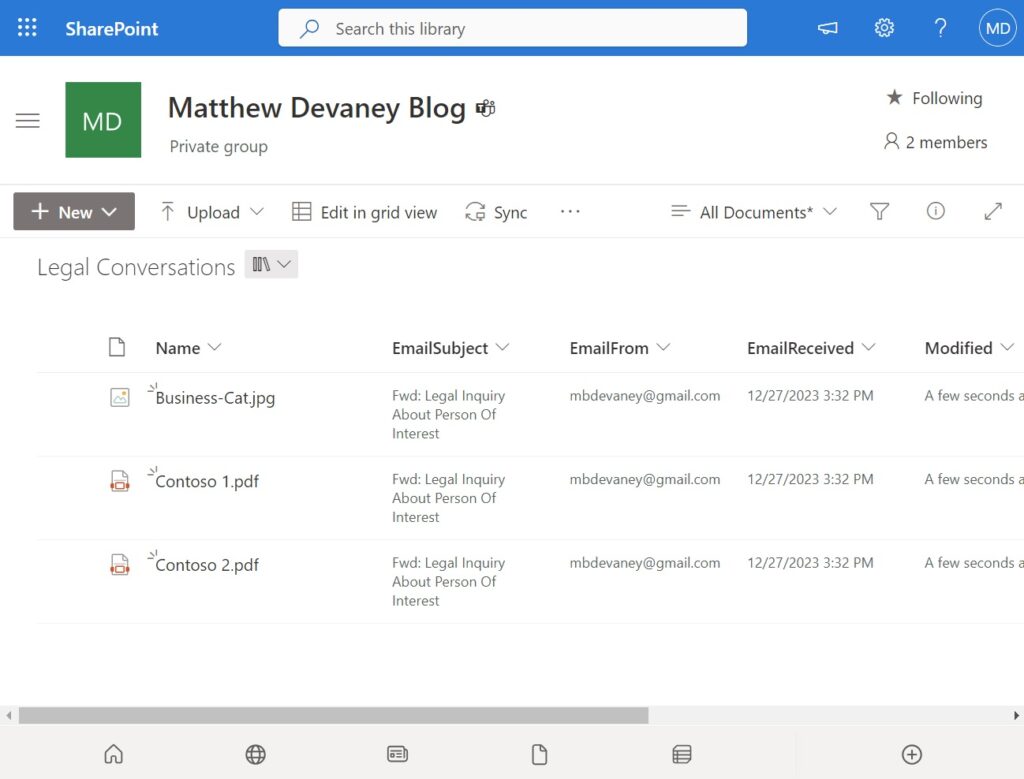
When the email is received the flow saves its attachments to the SharePoint document library.
The attachments appear in the document library as shown below.

Group Email Attachments By The Sender In SharePoint
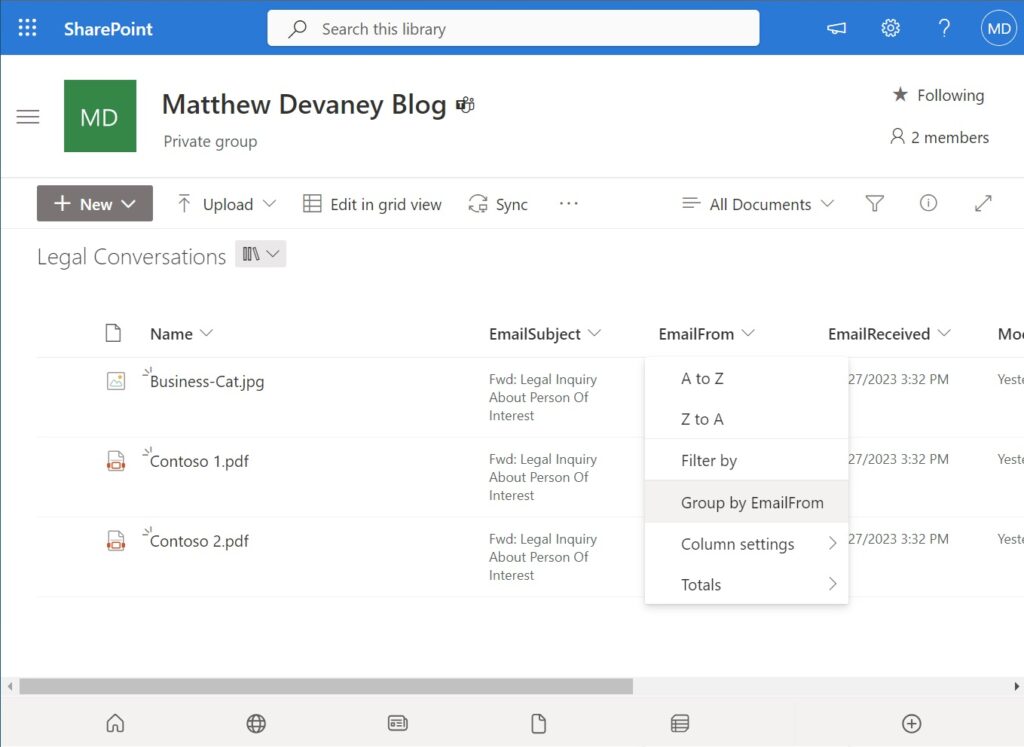
We can take advantage of the SharePoint document library’s settings to display the attachments grouped by the sender. Go to SharePoint and group the files by the EmailFrom field.
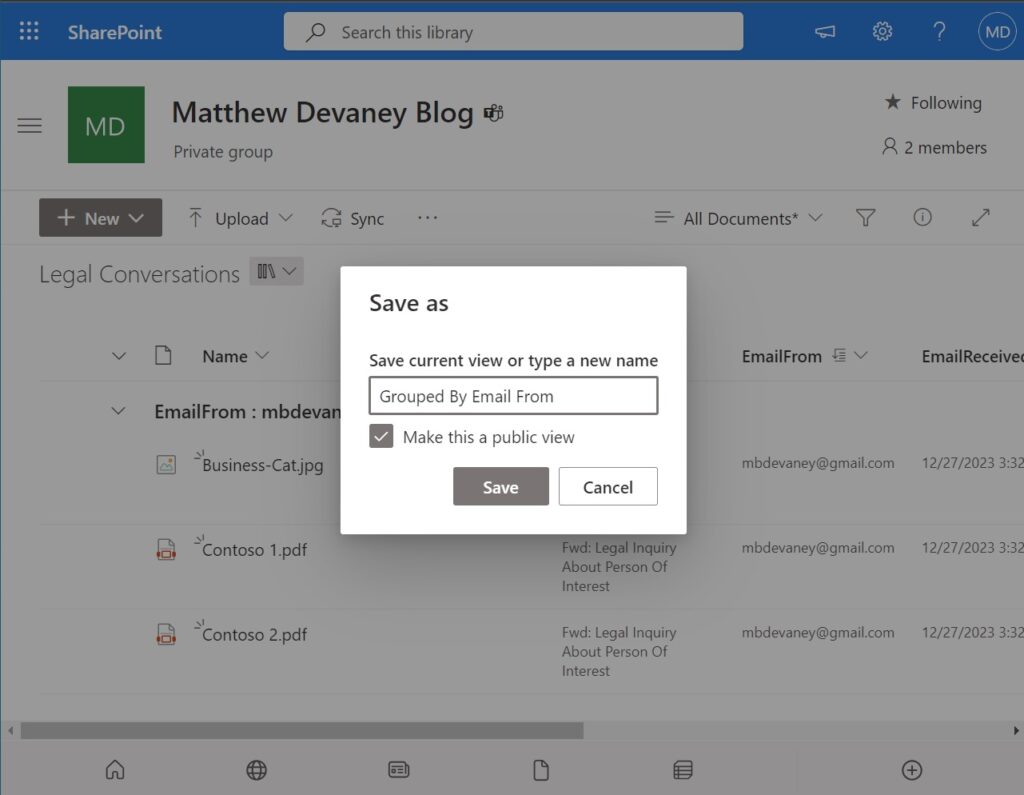
Save the updated view as Grouped By Email From and make it a public view.
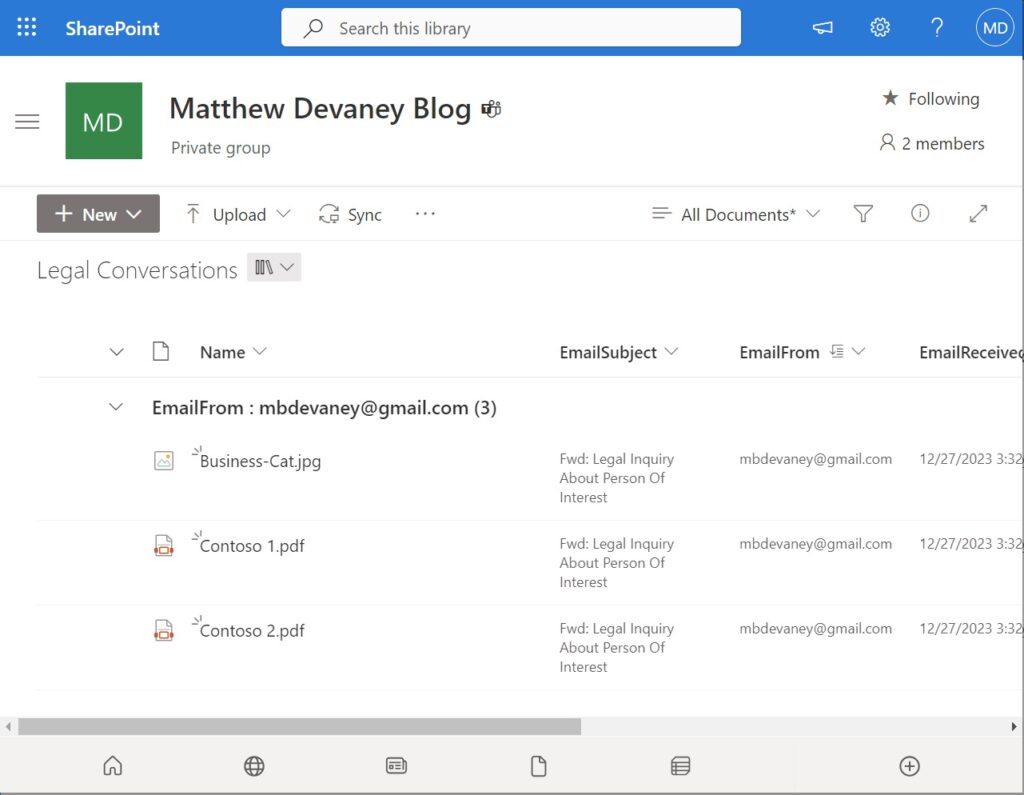
The email attachments are now grouped by sender. They can be expanded and collapsed.
Comments