A SharePoint document library is often the better choice for storing files in an app vs. Dataverse file storage. The cost of SharePoint file storage is much cheaper ($0.20/GB vs $40/GB), it has versioning built-in and you can take advantage of tagging/metadata among other things. Fortunately, we can use SharePoint to store the files for any table in a model-driven app. In this article I will show you how to enable the SharePoint integration for model-driven Power Apps.
Table of Contents
• Introduction: The Project Tracker Model-Driven App
• Create A New Model-Driven App
• Provision A New SharePoint Team Site
• Navigate To The Advanced Settings Menu
• Enable The SharePoint Integration With The Model-Driven App
• Choose Which Tables Use A SharePoint Document Library
• Upload A File Using The Document Associated Grid
• Display The SharePoint Document Library On A Main Form Tab
Introduction: The Project Tracker Model-Driven App
Employees at a construction firm use the Project Tracker model driven app to keep important documents organized. The documents are displayed in a sub-grid and are stored inside of a SharePoint document library.
Create A New Model-Driven App
Open the Power Apps maker portal and add a new table named Project with the following columns:
- Name (text)
- Description (text)
- City (text)
- State (text)
- Contract Amount (currency)
Populate the Projects table with this data:
| Name | Description | City | State | Contract Amount |
| 2023-001 | Office Tower 123 River Ave. | Albany | NY | 13,500,000 |
| 2023-002 | Strip Mall 1st St. N. | Newark | NJ | 2,300,000 |
| 2023-003 | Big Box Store 734 Thames St | Pittsburgh | PA | 1,700,000 |
| 2023-004 | Office Building 789 Reading Ave. | New York | NY | 89,00,000 |
| 2023-005 | Condo Tower 1003 Main St. | Chicago | IL | 5,600,000 |
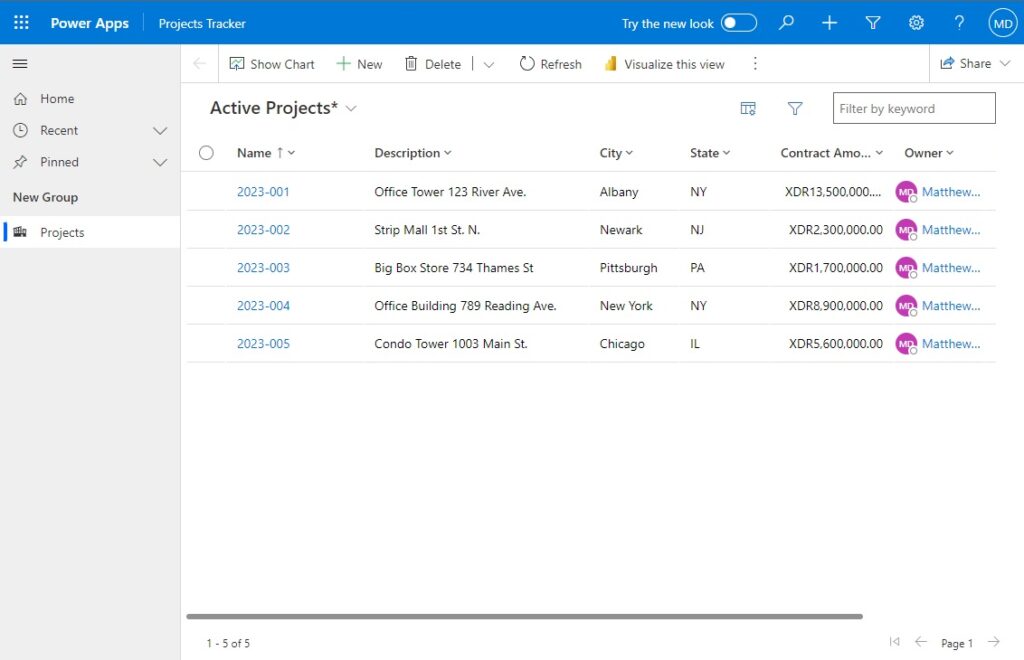
Update the Main View of the Projects table to look like the view below:
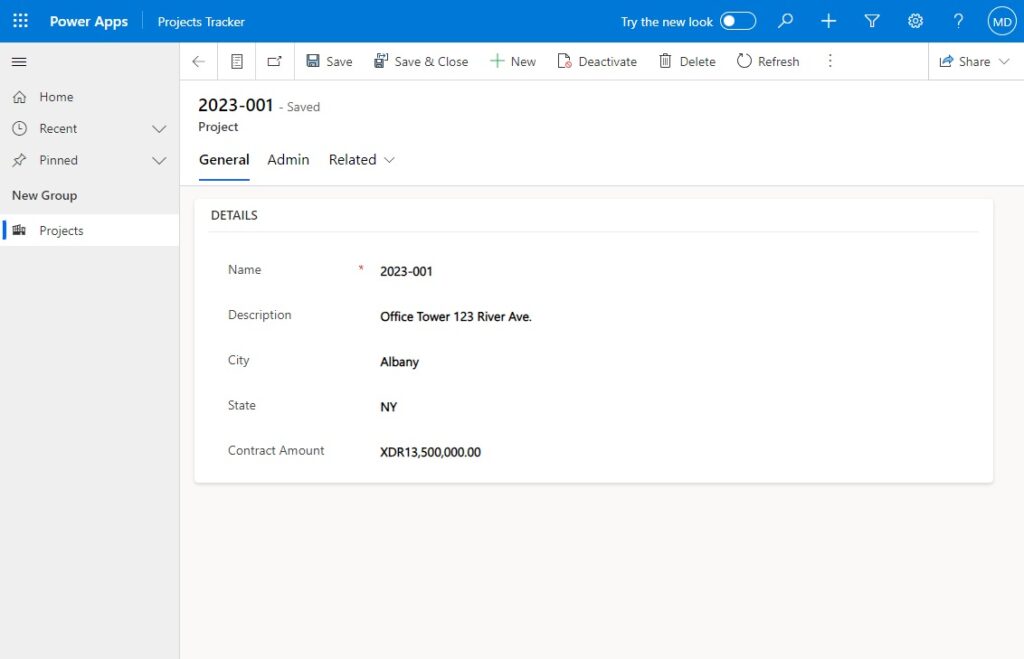
And modify the Main Form to look like this form.
Provision A New SharePoint Team Site
We need to setup a new SharePoint site where the model-driven app will store its documents. Create a new SharePoint Team site. No other configuration is required here. When we setup the SharePoint integration with the model-driven app it will be done automatically for us.
Navigate To The Advanced Settings Menu
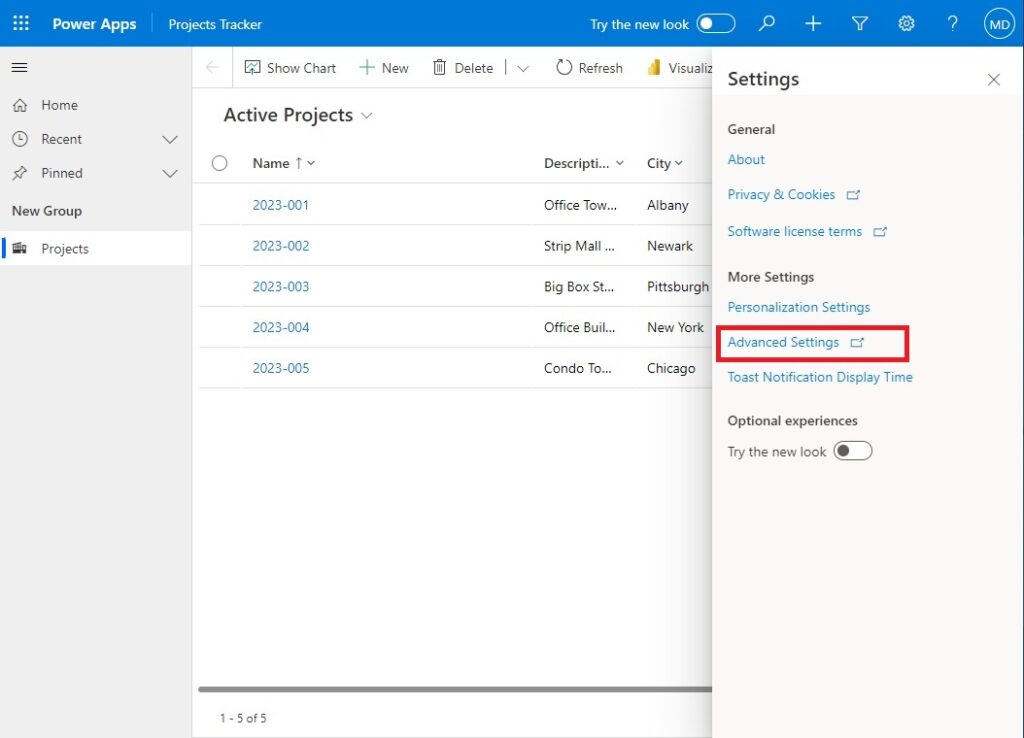
Now we are ready to connect our SharePoint site to the model-driven app. Go back to Power Apps and click on the gear icon in the top-right corner. Choose Advanced Settings.
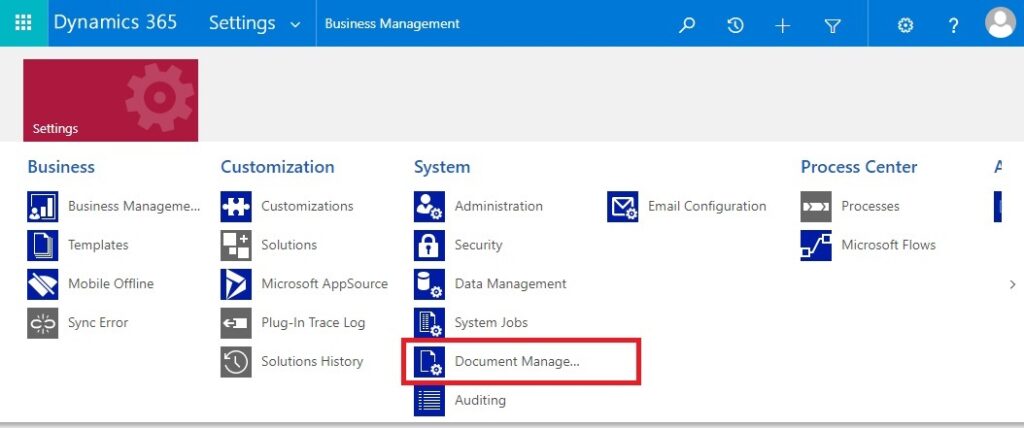
Then select System > Document Management.
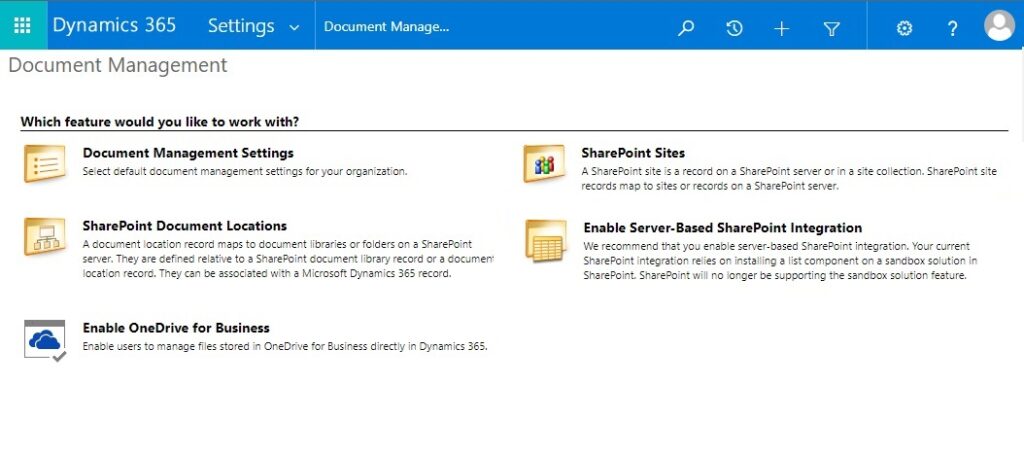
The Document Management settings menu looks like this.
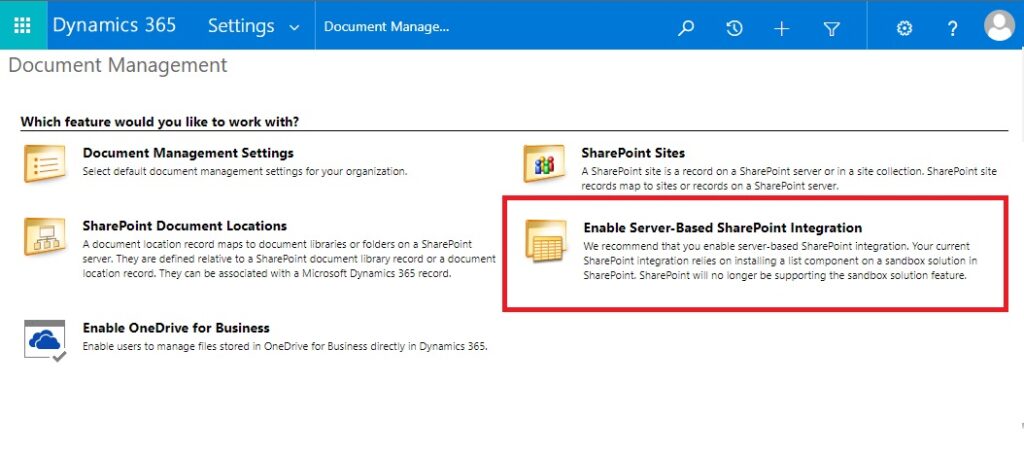
Enable The SharePoint Integration With The Model-Driven App
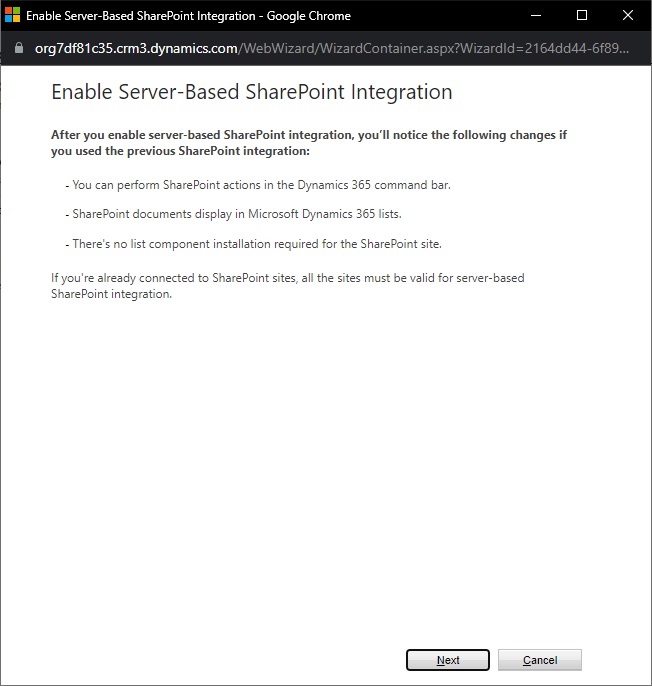
Next we will turn on the SharePoint integration with Power Apps. Select Enable Server-Based SharePoint Integration.
Navigate past the first screen of the setup wizard.
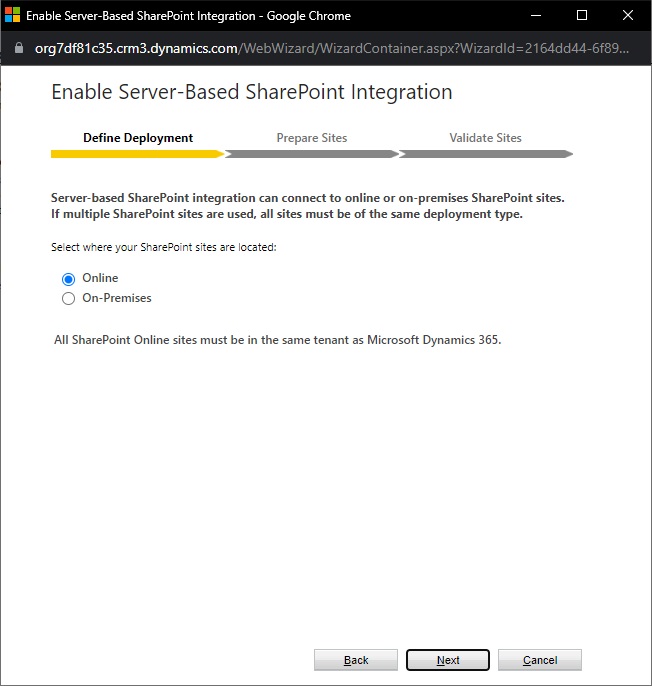
Choose Online on the Define Deployment screen.
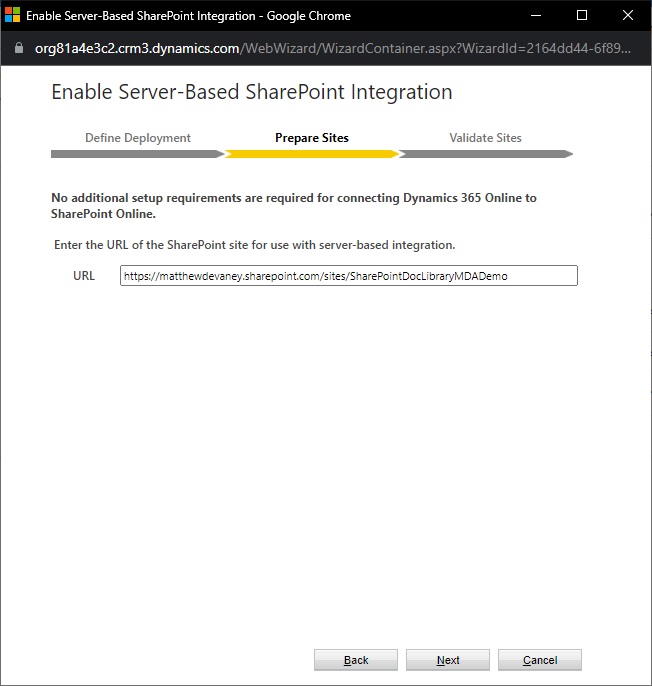
Supply the URL of the SharePoint site we created and press the Next button.
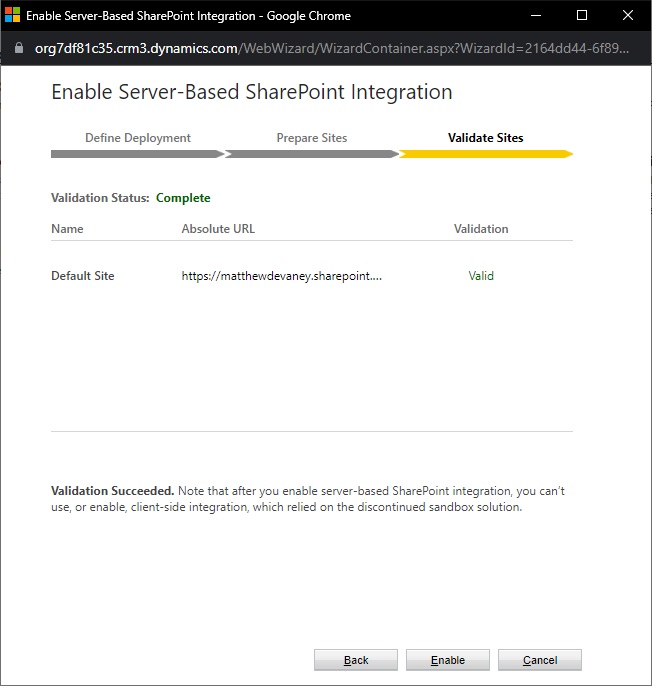
Wait for the site to become validated. Then press Enable.
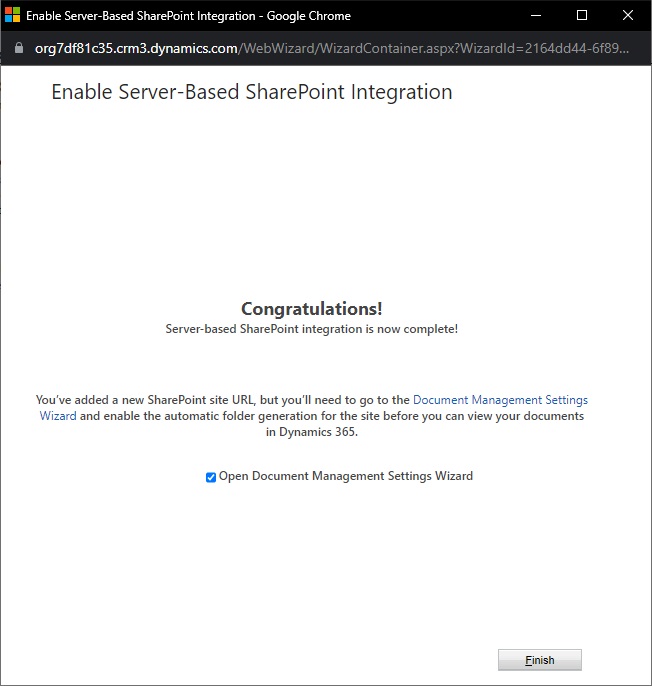
A success message will appear once the integration is enabled.
Choose Which Tables Use A SharePoint Document Library
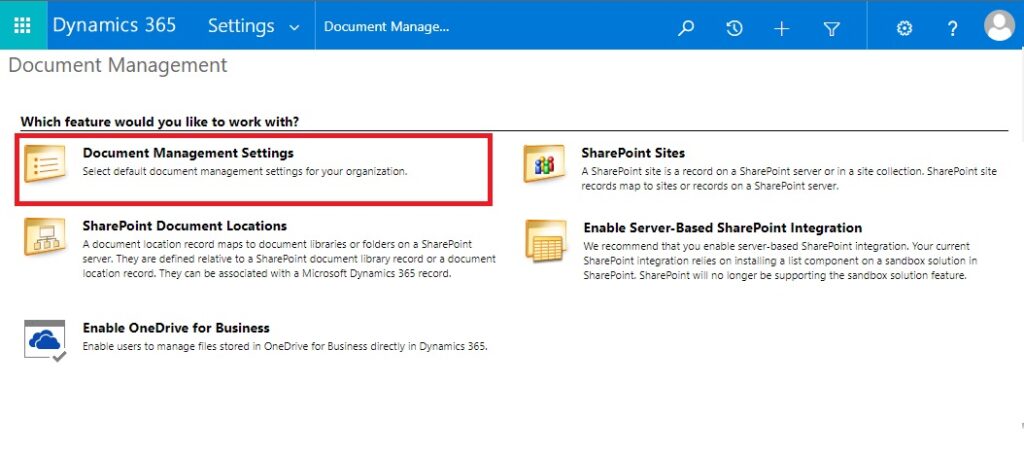
We must define which tables in our model-driven app require a SharePoint document library. One document library will be setup per table. To do this, open the Document Management Settings from the Advanced Settings menu.
Select the Project table. This example uses only one table. But we do have the ability select more than one table if needed.

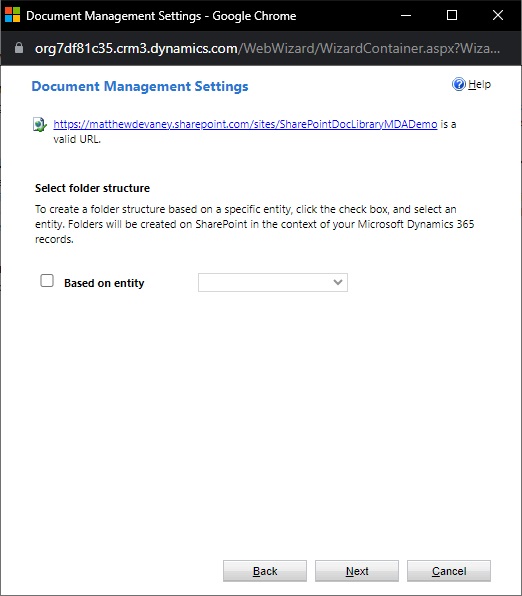
Select Next on this screen. Do not enable Based On Entity unless you are using the Account or Contact tables.
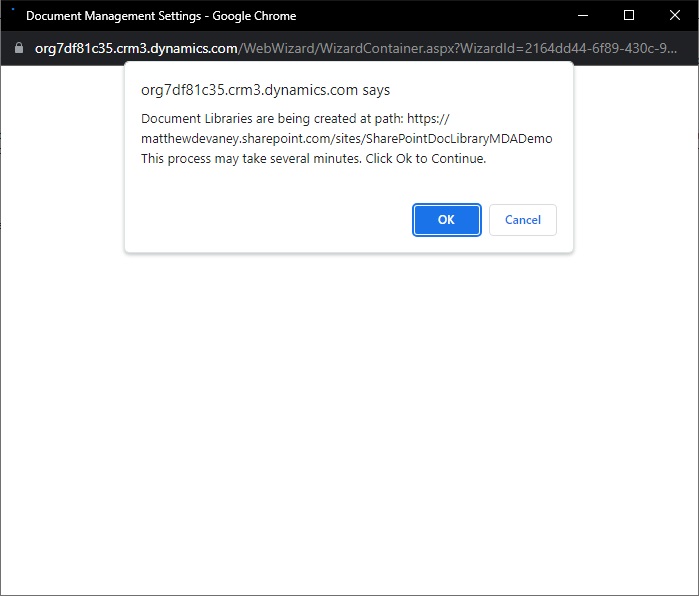
At this point the SharePoint document library will be created automatically by the integration. Wait for the process to complete.
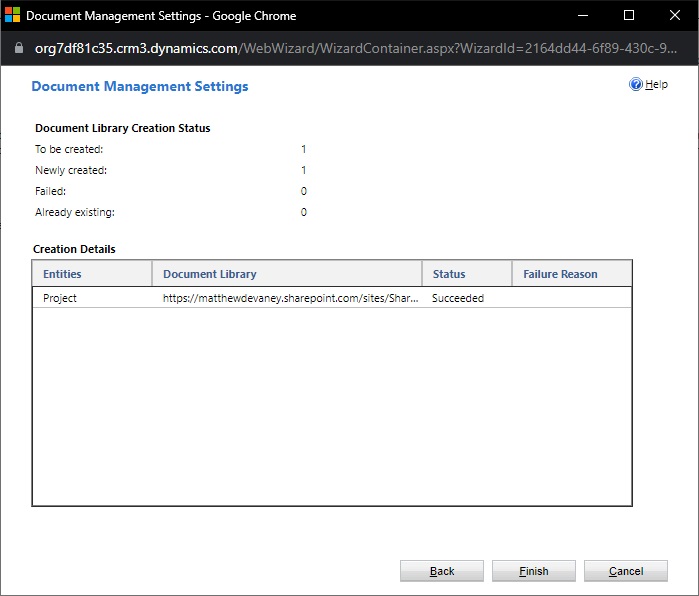
After the the process is done we see the document library creation status page. The status should read succeeded. Press Finish.
Upload A File Using The Document Associated Grid
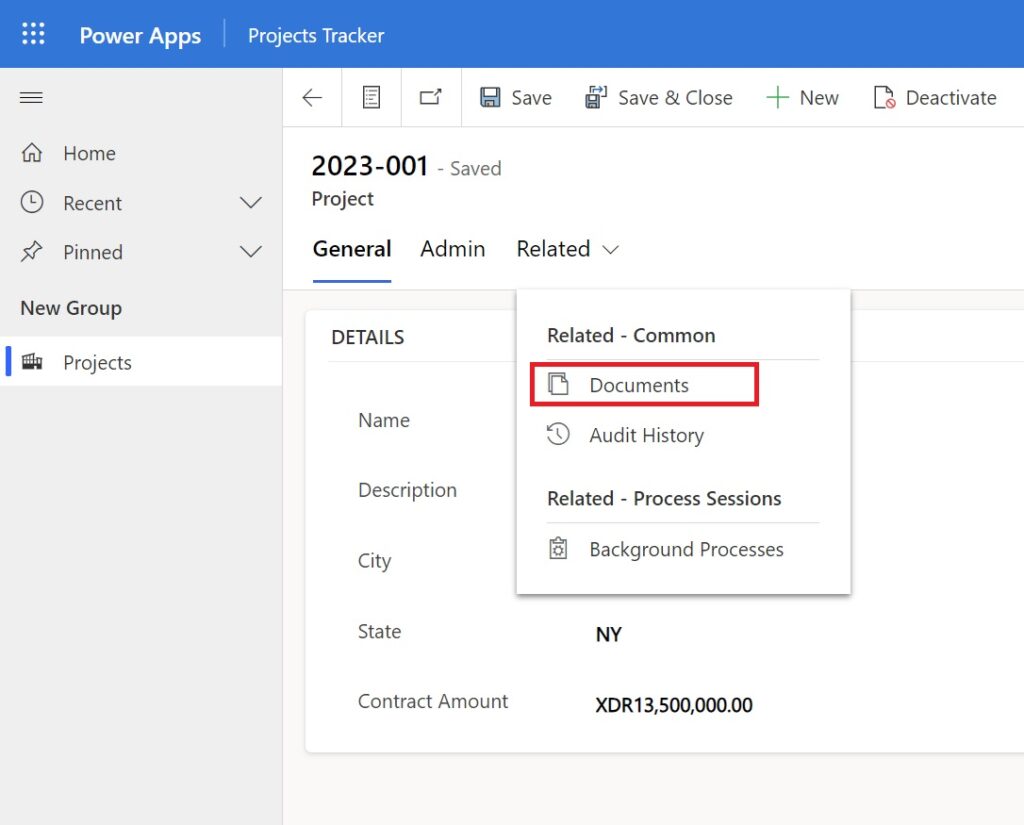
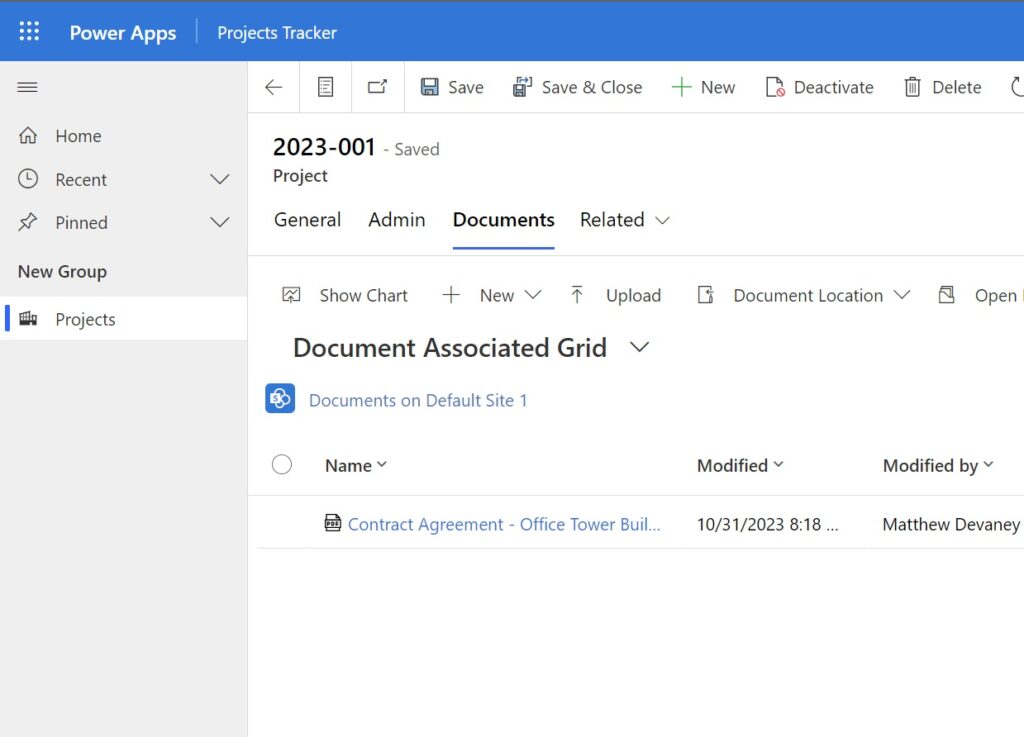
We can now use the model-driven app to store documents in SharePoint. Open a the main form of any record in the Project table. Navigate to the related Documents table.
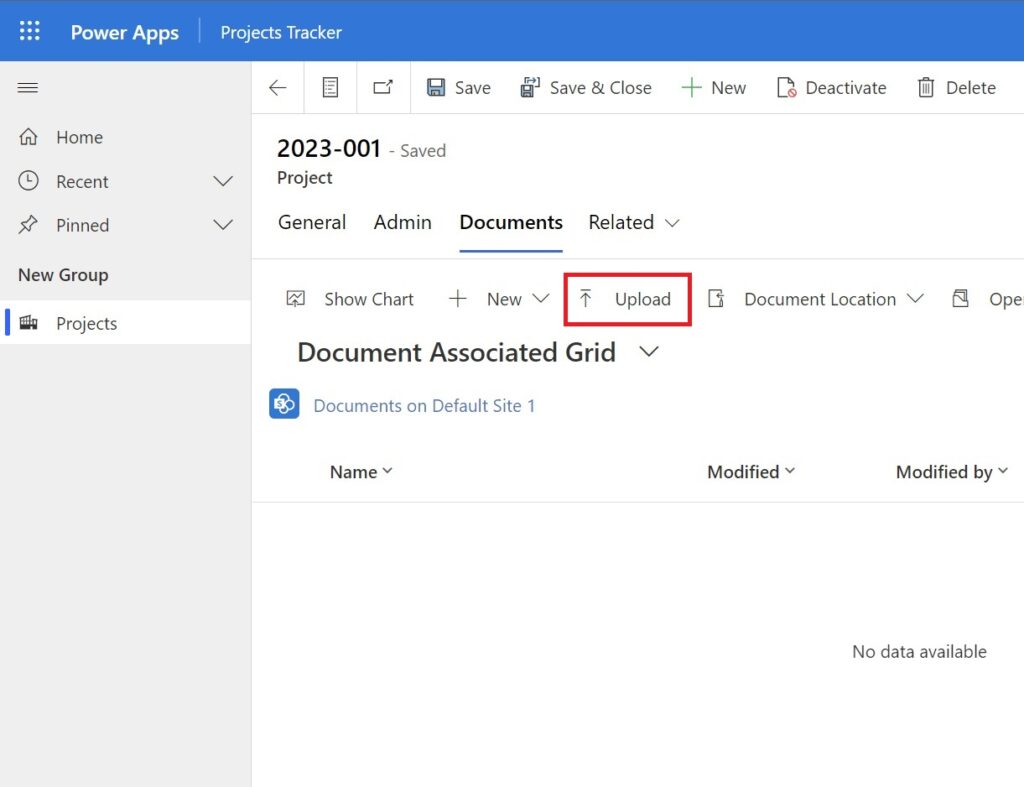
The Document Associated Grid appears. Choose Upload.
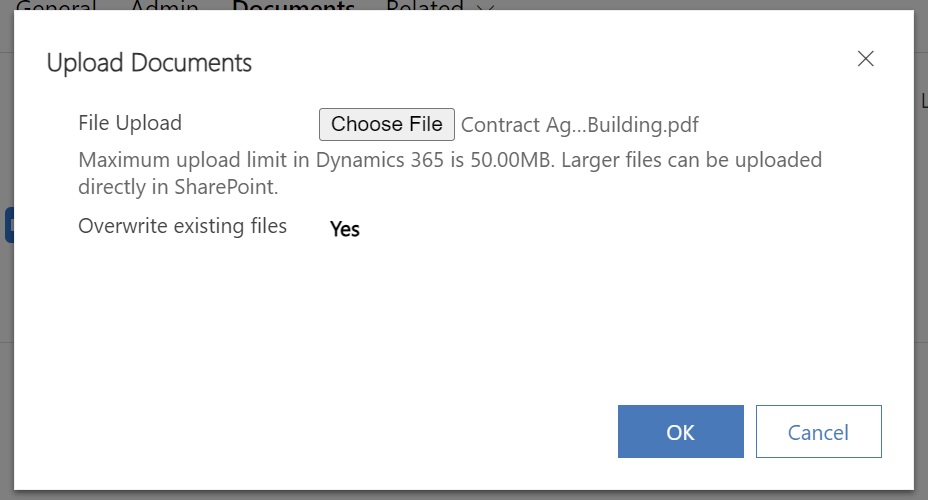
Choose a file to upload and press OK.
The uploaded file appears in the grid.
Locate The Uploaded Document In SharePoint
The document we uploaded in the model-driven app is stored in a SharePoint document library. Let’s go find the document in SharePoint to understand more about the file structure being created behind the scenes.
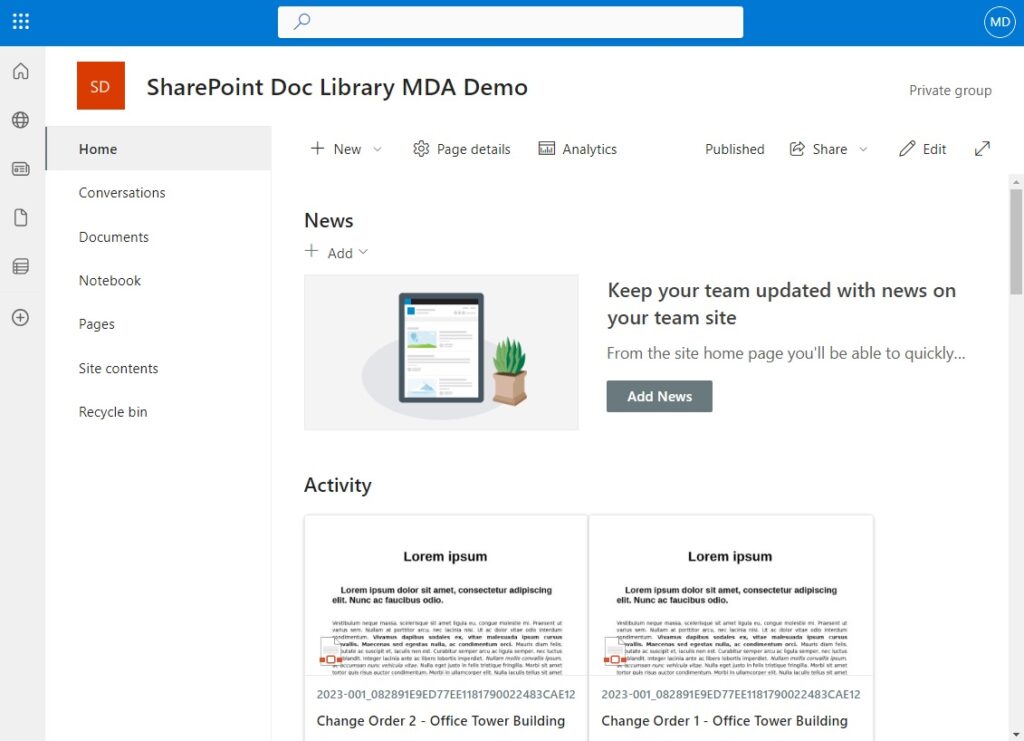
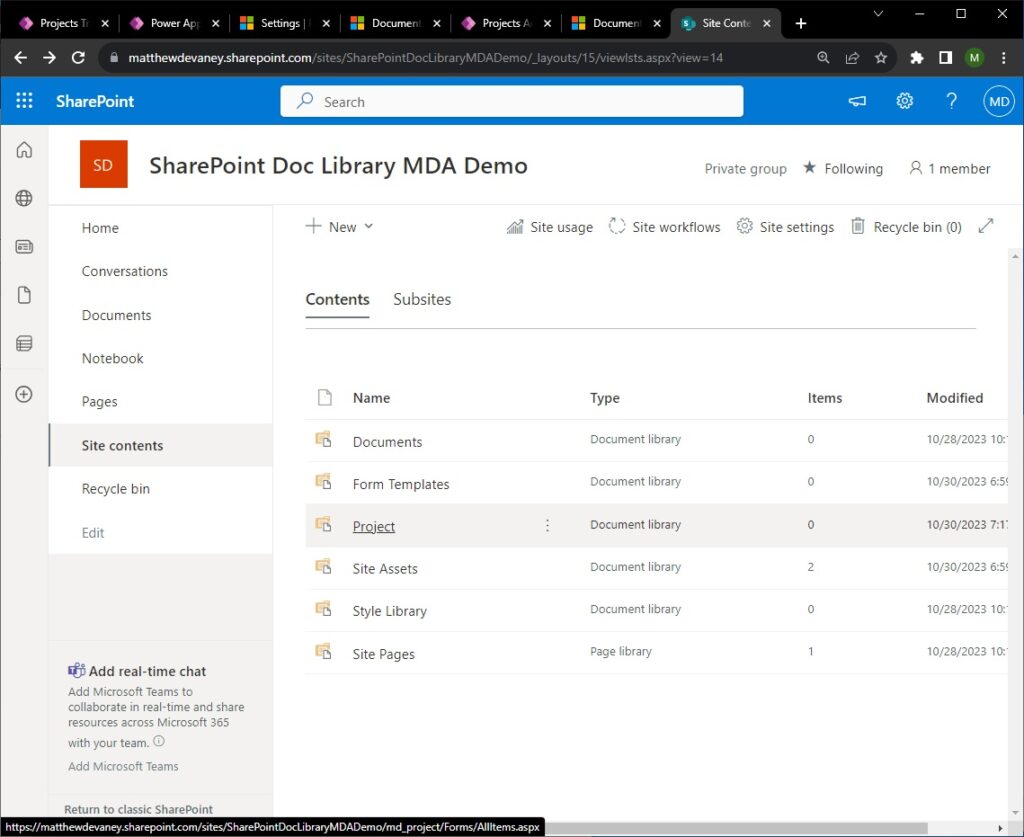
Open the SharePoint site and go to Site Contents. Navigate to the Project folder.
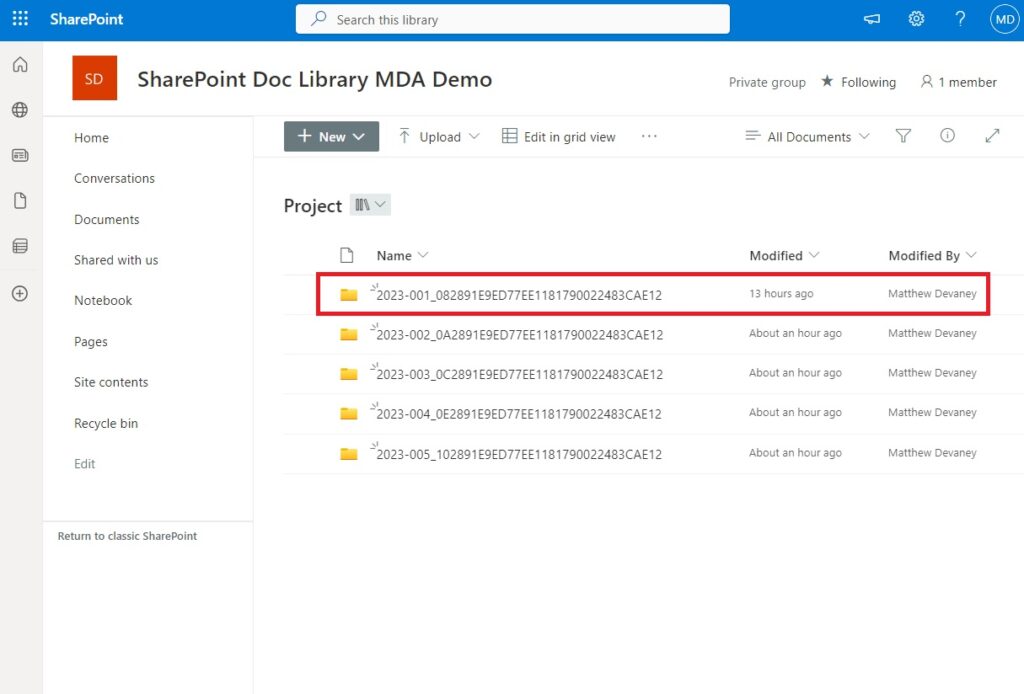
Inside the Project folder there will be one subfolder for each Project record. Open the folder that matches the project we uploaded the document to.
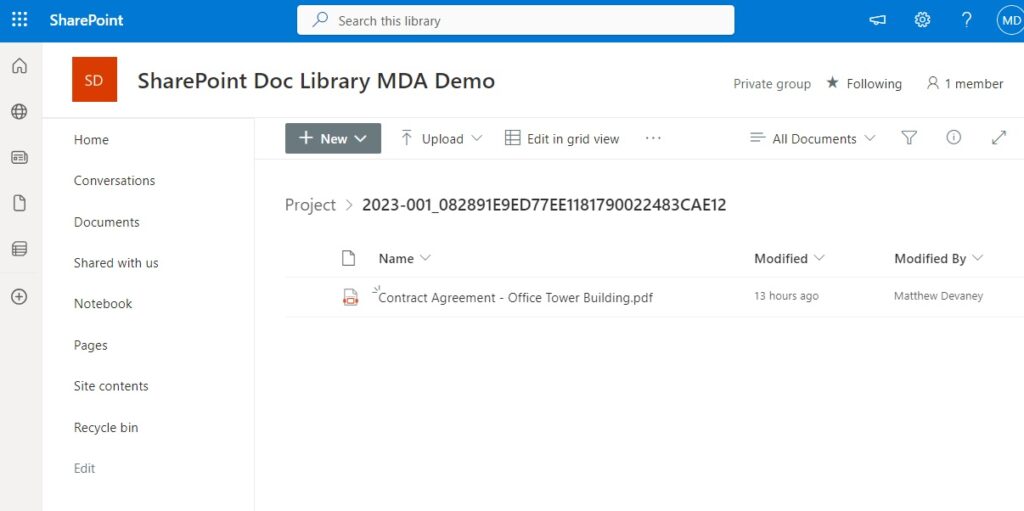
Inside the folder we can see the uploaded file.
Display The SharePoint Document Library On A Main Form Tab
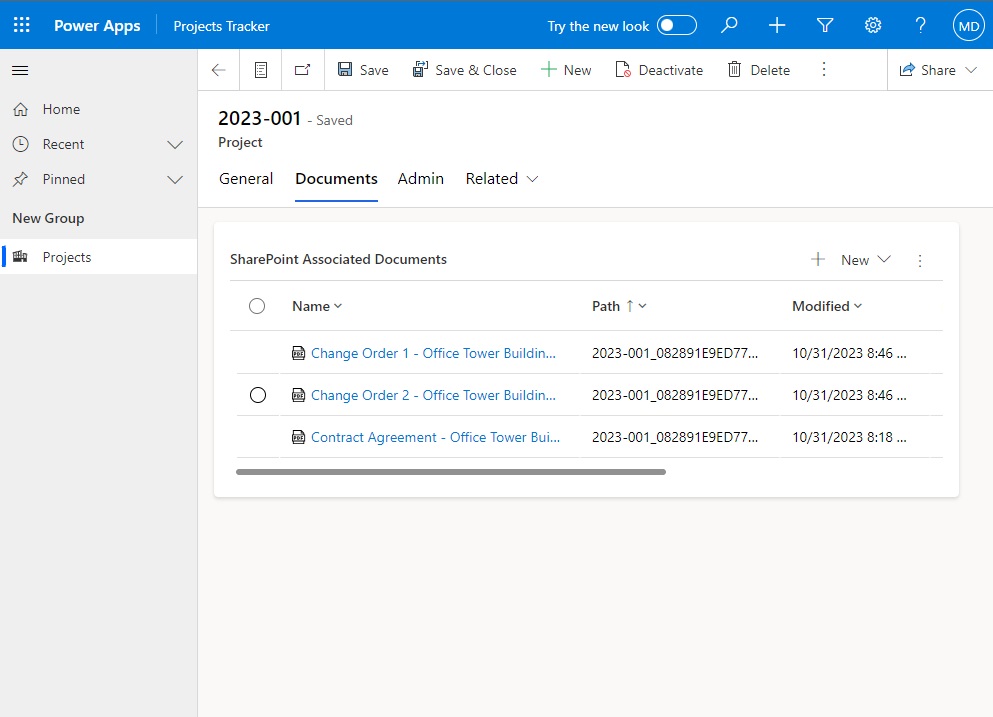
It is not ideal to make model-driven app users go searching for the Documents table within the Related tab. We can make is easier for them by showing Documents on their own main form tab.
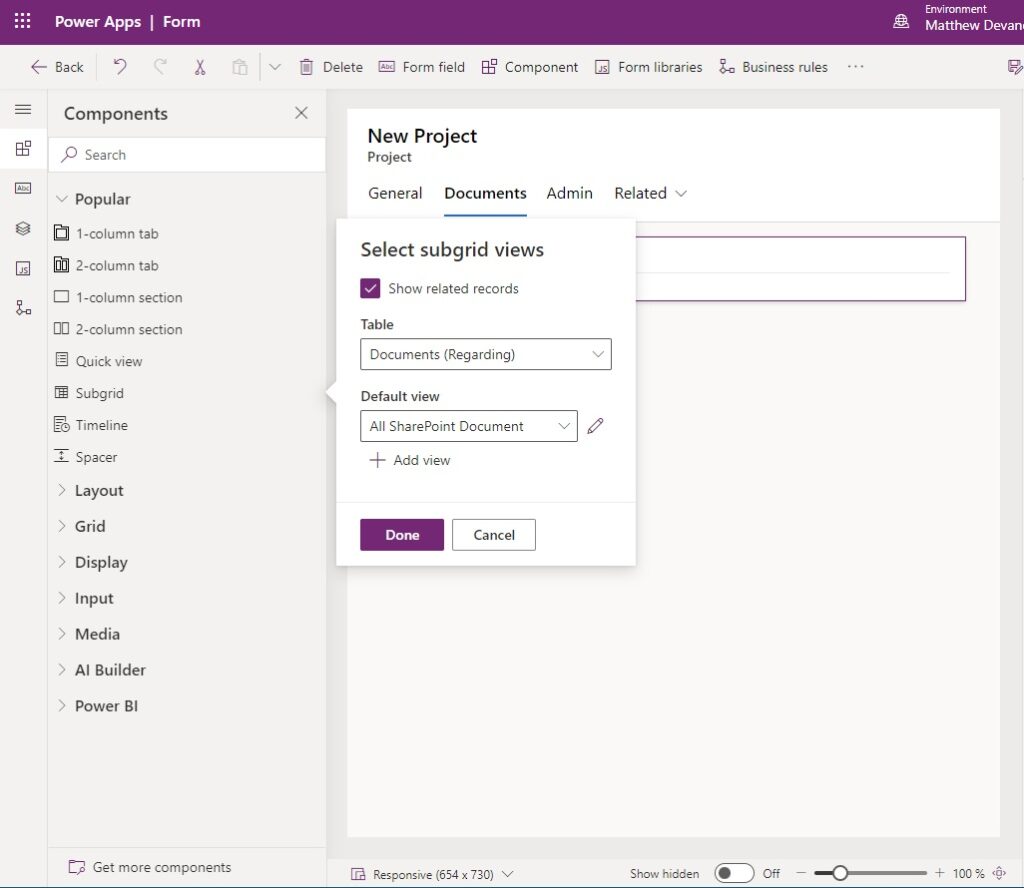
Edit the main form of the Project table. Add a new 1 column tab named Document to the form. Insert a subgrid into the first section. Check the show related records box, choose the Documents table and use the All SharePoint Document default view.
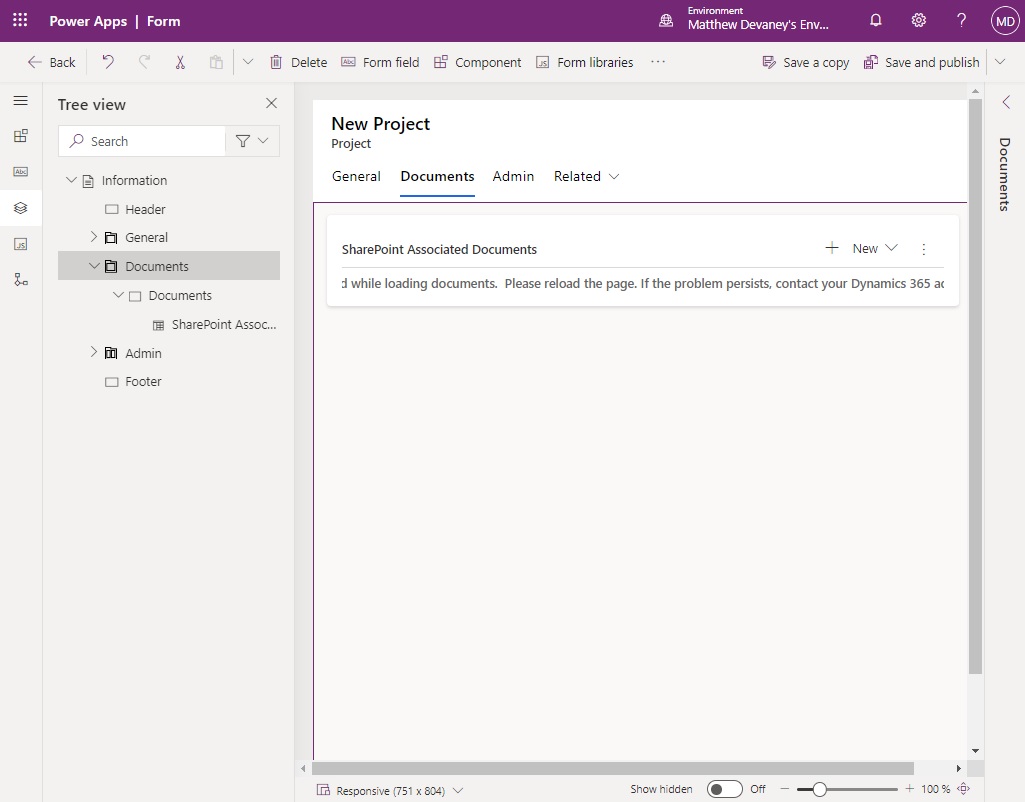
Then Save & Publish. Ignore the warning message on the subgrid. It only appears in the editor.
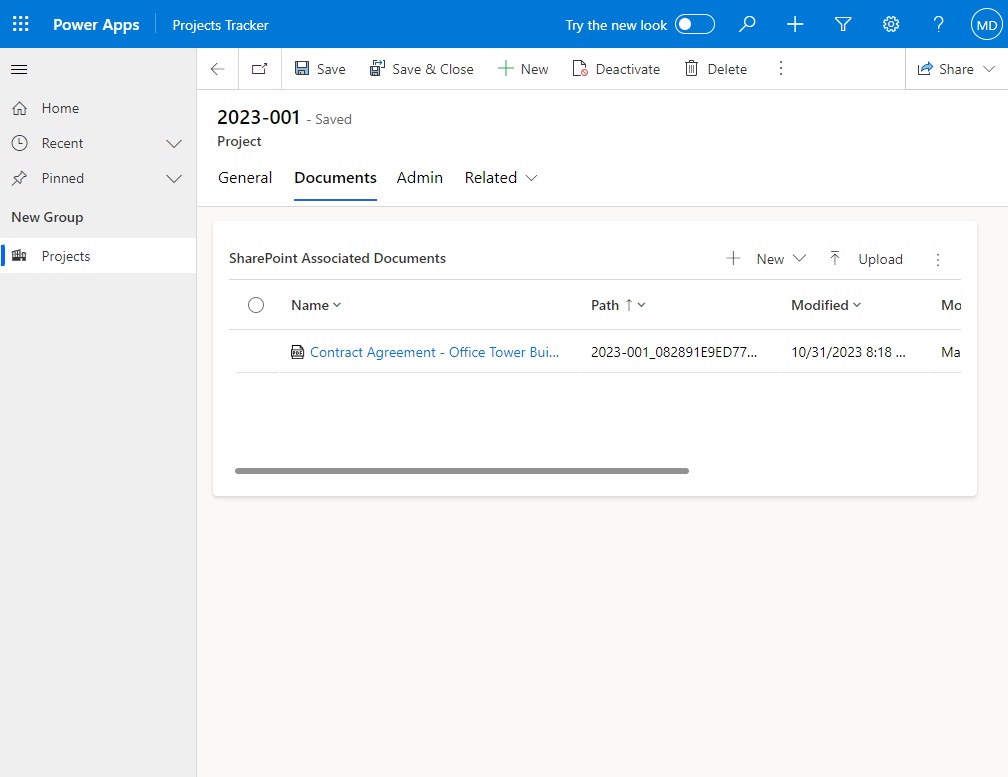
When we open the model-driven app and go to the Documents tab the subgrid displays our documents.
Comments