In this article I’m going to describe how to create SharePoint feature before look at custom web parts . Here I’m going to use Visual Studio 2008 and Visual Studio 2008 extensions for Windows SharePoint Services 3.0 to create my feature.
Creating the Feature
First create new SharePoint Empty project as shown in Figure 1. There select Fully Trust (Deploy to GAC) when prompt.

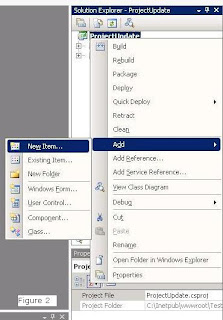
Then Add new SharePoint Event Receiver as shown in Figure 2 & 3.

And select the list to add event receiver. Here I’ll select Custom List (Figure 4).

Then open ItemEventReceiver.cs to write whatever you want when something
happen, like Add new item, Update item and Delete item from the list.
You can find commented methods for insert your code. I’ll show how you
can get the ID of newly added item (Figure 5).

Deploying the Feature
Using Visual Studio 2008 extensions for Windows SharePoint you can
easily deploy your feature to the SharePoint server. To do this you have
to be in the server and you can deploy by right clicking on the project
(Figure 6).

Then activate the "ProjectUpdateEventItemEventReceiver" at Site Settings --> Site Features.
To me, it did not work when I tried to change
the code and redeploy it. I had to use different name when I want to
change the code.
After Deploying the feature you can check the result using EventReceiver-Installer for SharePoint.


You may notice new feature is activated for all the custom lists as above picture, now you can use same EventReceiver-Installer to delete unwanted events in other custom lists.
Comments